The mast step
SitSite Titlee Title
When I took the mast step off last August there was some material that filled some hollow spots underneath it. This material looked like some kind of cracked bondo that was in sad shape. I’ve seen the same stuff under the mast step of at least 1 other C&C that was about the same age as Liberty. The first thing I did was to smack it a few times with a hammer and it all crumbled. I then removed the whole useless mess. Now I must replace this area with something stronger. I chose to use a mixture of silica and high desisity filler (west system 404 and 406) along with West Epoxy. The first thing I did was to sand and clean the area to be filled. A thin layer of epoxy was put on and allowed to get tacky. I mixed a generous amount of filler and overfilled the area. Next a few pieces of wax paper was put down and then then mast step was bolted to the stringers. The filler tried to ooze out the sides of the area but it was fairly thick so it stayed in place when I molded it with my fingers. Another sticky mess ! Everything hardened up in place and I’m sure that what is under the mast step is good and solid. Here are a few pictures of this part of the project.


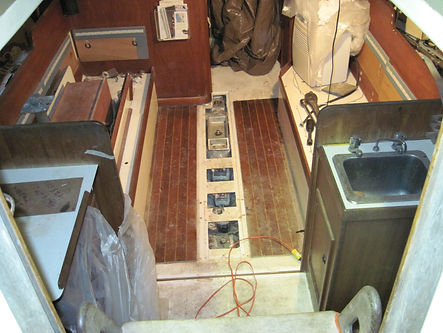
The picture on the left is where the mast step must go the picture on the right shows the hollow area to be filled (white X squares). The red markings are the stringers that the mast step bolts to.
The plan is to not allow the filler to cover the Stainless Steel plate that is in place to back up the nut on the keel bolt. I ground excess filler off of the plate to prevent any cracking from getting started. There will be a gap in between the backing plate and the mast step but I think this will be acceptable in this small area.


before

After

This mast step is 3/8” cast Stainless Steel and plenty strong. The 6 years that I have had the boat I’ve seen no sign of trouble from what was underneath it and when I inspected the inside of the keel bolt hole it looked good to me. There was no calking in this hole so it made it easy to check for moisture and to check the condition of the walls of the hole. This was one of the better keel bolts and I think water never made it to this area as the hole seamed fairly dry. Everything under that bondo type stuff looked solid. I am now satisfied with this improvement.