Keel put back on----(take 2)
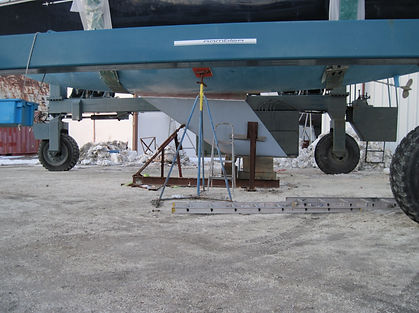
Two days after I took the inside pictures I arrived at the boatyard to find that much work had been completed. The goop pad had been put on. The keel had then been separated from the boat and the 3M 101 had been applied. The keel put back on and the bolts had their first torque setting done. This time there were no problems and after inspecting everything and checking some measurements to see how straight it was I felt everything looked pretty good …this time. As near as I can tell the keel is on center within about ½ inch measuring from the rail at several locations. Here are several pictures I took that afternoon.


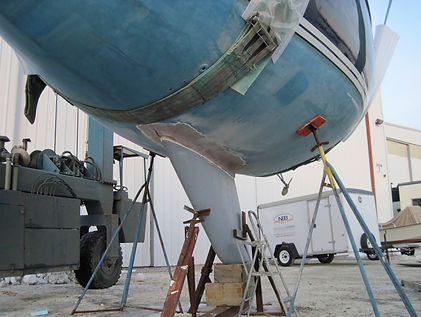
In the pictures in the lower right notice the area just aft of the keel repaired and faired. This will be undecetable when painted. This area is now stronger than it ever has been.


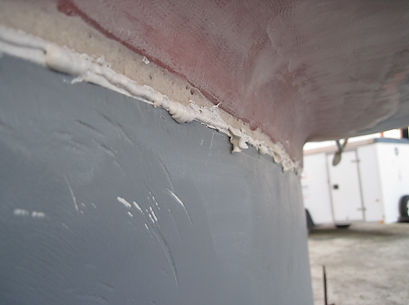
These pictures below are good pictures showing the goop pad and just below it the 3m-101 calking that was added after the keel was separated from the keel stub.


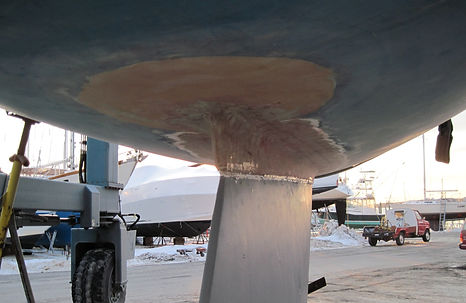
Here are 2 pictures that show the lead keel still needs to be faired. I chose to do this myself rather than pay the keel bolt repair guys 1000$ to do it. This is one area that I think I can save some money. This project is costing a kings ransom!


Next its back into the shed to fair the keel to hull seem with some glass and microballons. Originally the boat just had polyester fiberglass mat wrapped around the seam. We will now have several layers of epoxy glass mat as well as microballons for fairing. This should be way stronger than it ever was.